Last updated: September 29, 2025
Setup Navigation
Table of Contents
Managing your site’s navigation in Ghost is simple and user-friendly. You can add, remove, reorder, or edit menu items directly from the Ghost Admin Panel, without editing any code.
Navigation Settings
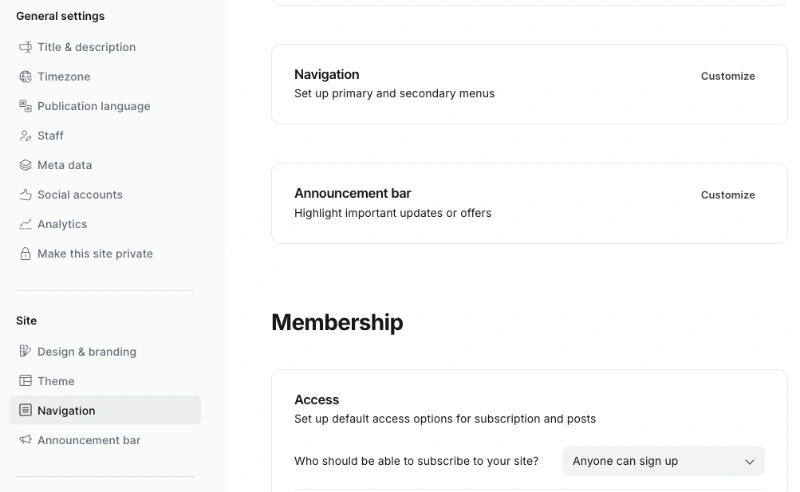
To access the navigation settings:
- Log in to your Ghost Admin Panel
- Go to Settings > Site
- Scroll down to the Navigation section
Example direct link:
yoursite.com/ghost/#/settings
Adding or Editing Menu Items
Within the Navigation section, you can fully customize your site’s menu:

- Add new items – Enter a Label (the menu name) and its URL.
You can use external links or internal paths (e.g.,/about/,/contact/). - Edit items – Click into any label or URL field to update it.
- Reorder items – Drag and drop menu rows to change the order.
- Remove items – Delete a row to remove it from the menu.
Important Notes
- Always click Save after making changes.
- If you navigate away without saving, your updates will be lost.
- Ghost supports both a Primary Navigation (main site menu) and a Secondary Navigation (footer or additional menu). Make sure to update the correct section.
For more details, see the official Ghost docs: Updating Navigation
By following these steps, you’ll keep your site’s navigation clean, intuitive, and up to date with the latest Ghost features.
